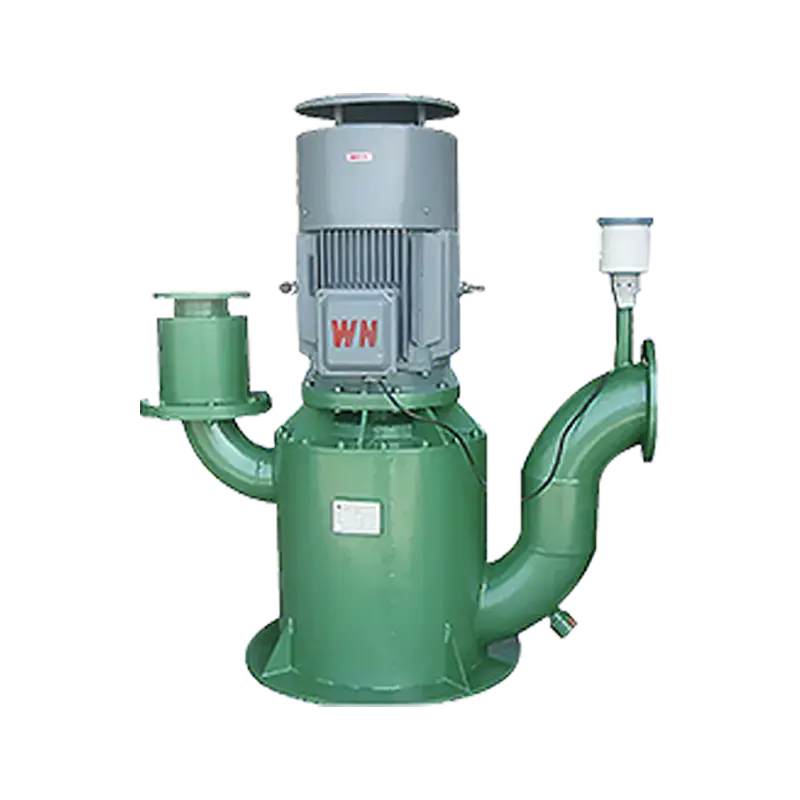
A self-priming pump is a powerful and versatile piece of equipment, but its performance and longevity are entirely dependent on proper installation. Unlike a standard centrifugal pump, a self-priming pump is designed to automatically evacuate air from the suction line, allowing it to begin pumping liquid without a manual fill. However, this "self-priming" capability is only effective when the surrounding system is correctly configured.
This guide provides a professional, step-by-step overview to ensure a flawless installation, optimal performance, and years of reliable service from your pump.
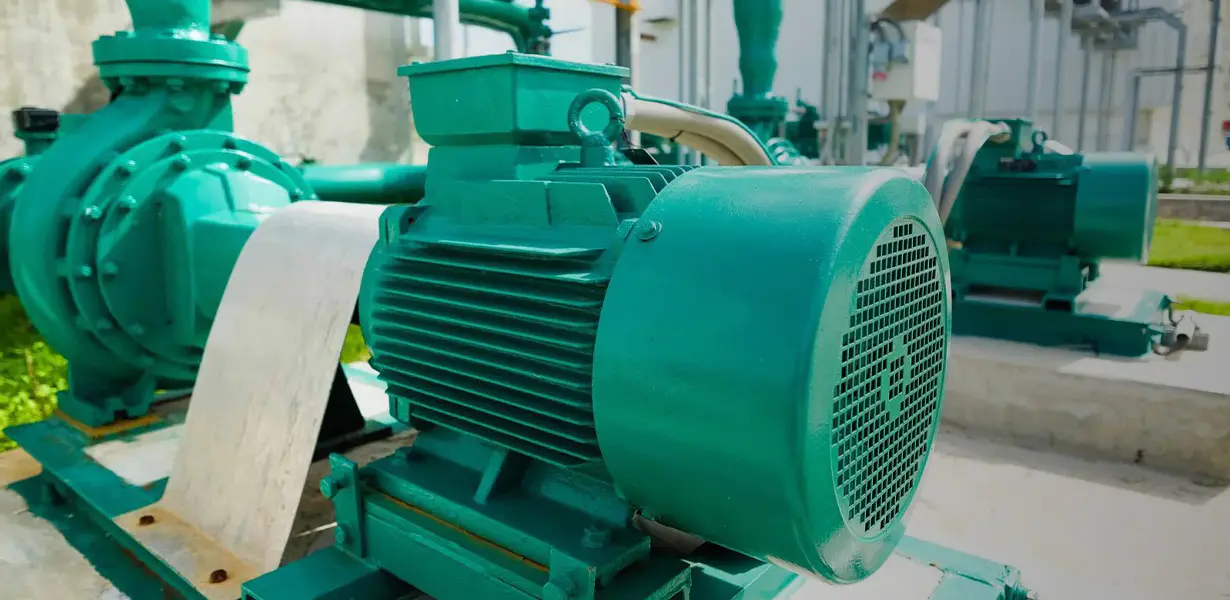
Step 1: Strategic Pump Placement
The location of your self-priming pump is the most critical factor in a successful installation.
-
Proximity is Key: Position the pump as close as possible to the liquid source. The shorter and more direct the suction line, the less head loss your system will experience, improving the pump's efficiency and suction lift capabilities.
-
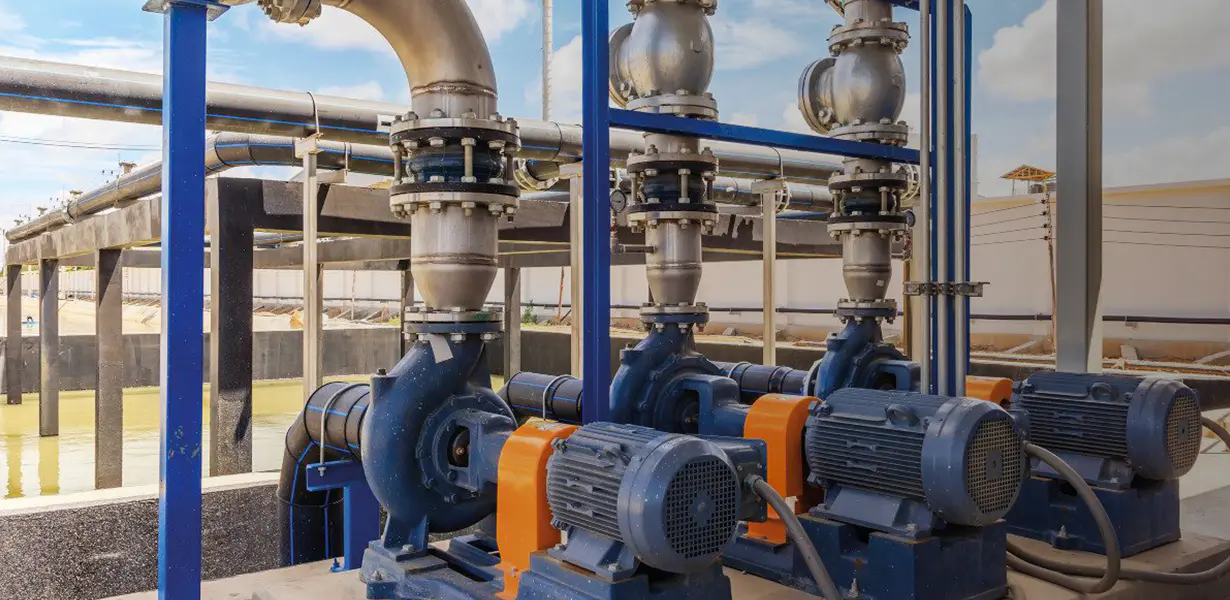
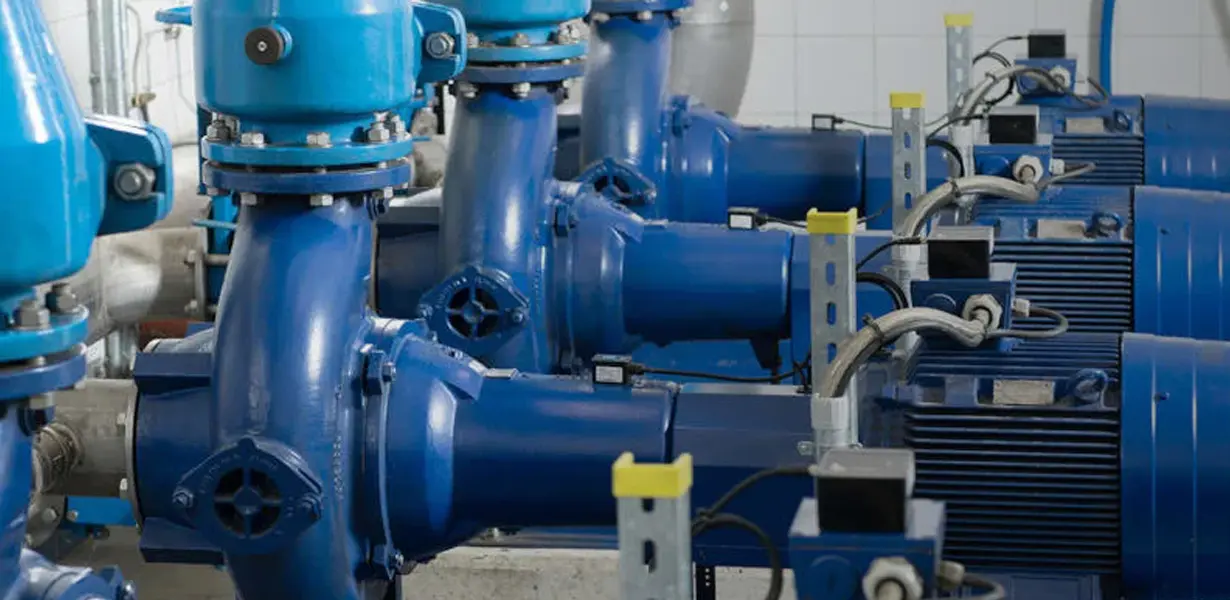
Foundation and Stability: The pump must be mounted on a solid, level foundation, such as a concrete slab or a rigid base plate. Secure it firmly with anchor bolts to prevent movement, vibration, and potential pipe stress. Excessive vibration can lead to premature wear and failure of components like seals and bearings.
-
Accessibility: Ensure there is enough space around the pump for future maintenance, inspections, and repairs. This includes access to the motor, mechanical seals, and any valves or gauges.
Step 2: The Suction Line (The "Heart" of the System)
The suction line is where most installation problems occur. A single air leak can prevent a self-priming pump from working correctly.
-
Keep it Short and Straight: Use the shortest possible suction pipe with the fewest bends. Every elbow or fitting adds friction, which reduces the pump's ability to lift liquid.
-
Maintain Proper Slope: The suction line should have a continuous upward slope from the liquid source to the pump inlet. This is crucial for preventing air pockets from becoming trapped in the line, which would hinder the priming process.
-
Use the Correct Pipe Size: The suction piping should be the same size as or larger than the pump's suction port. Never use a smaller pipe, as this will create excessive velocity and friction, leading to cavitation and potential damage to the pump.
-
Ensure Airtight Connections: Every joint, fitting, and connection on the suction side must be absolutely airtight. Use a high-quality thread sealant on all threaded connections. A slight air leak, even one that's barely perceptible, can completely undermine the priming function. A foot valve with a strainer is also highly recommended at the end of the suction line to prevent backflow and keep debris out of the system.
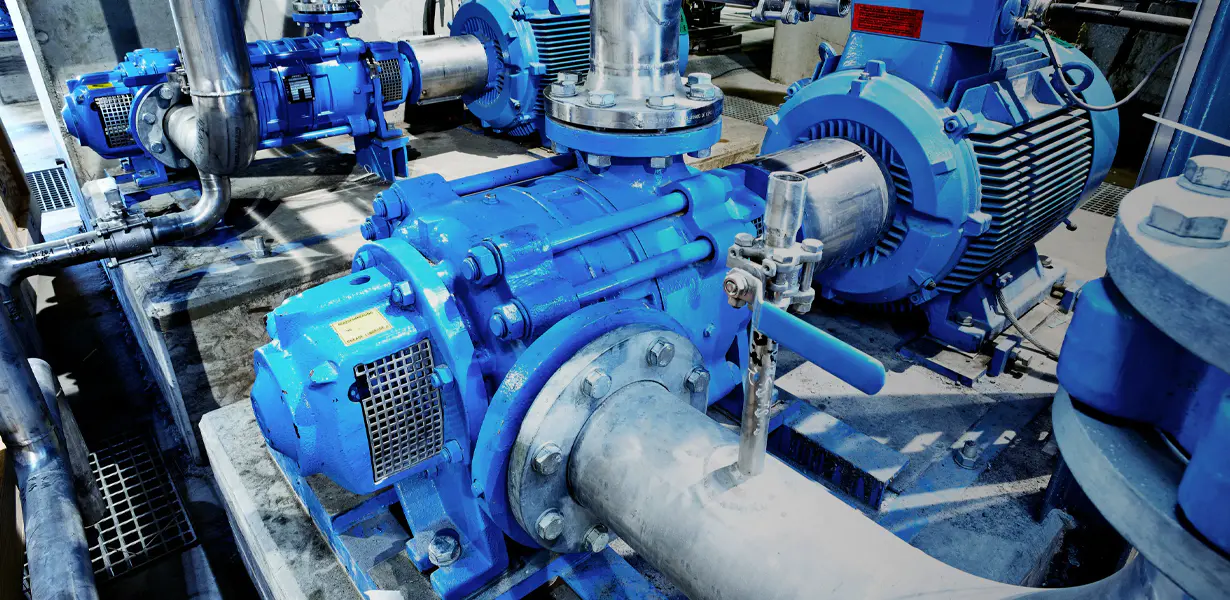
Step 3: The Discharge Line and System Components
While the suction side focuses on getting the liquid to the pump, the discharge side manages the delivery.
-
Discharge Pipe Sizing: The discharge line should generally be the same size as or larger than the pump's discharge port to minimize friction loss.
-
Install Essential Valves and Gauges:
-
Isolation Valves: Place an isolation valve on both the suction and discharge lines to allow for easy service and maintenance without draining the entire system.
-
Check Valve: Install a check valve on the discharge line to prevent liquid from flowing back into the pump when it is off.
-
Pressure Gauge: A pressure gauge on the discharge side allows you to monitor the pump's performance and system pressure.
-
Proper Support: All piping, valves, and components must be independently supported. Never let the pump support the weight of the surrounding pipework, as this can create undue stress and lead to misalignment or failure.
Step 4: Initial Start-Up and Priming
Even a self-priming pump requires a one-time initial prime.
-
Fill the Casing: Before the first start-up, you must manually fill the pump casing with the liquid it will be pumping. This is a crucial step that gives the pump the liquid "slug" it needs to begin the priming process.
-
Open Valves: Ensure all suction and discharge valves are fully open.
-
Power On: Turn on the pump and observe its performance. It should quickly begin to prime by displacing the air in the suction line with the liquid from the casing.
-
Monitor for Air Release: During the priming cycle, you will hear a distinct change in the sound of the pump as the air is expelled and the liquid is pushed through. If the pump fails to prime within the manufacturer's specified time, shut it off and recheck your installation for any leaks, especially on the suction side.
By following these professional guidelines, you can ensure that your self-priming pump operates at peak efficiency, delivering consistent and reliable performance for its entire service life.

 English
 русский
 Español
 Français
 Short Bracket Centrifugal Pump")


